
Mastering the Art of Gel Highlighter: A Comprehensive Guide to Achieving Radiant Skin
Related Articles: Mastering the Art of Gel Highlighter: A Comprehensive Guide to Achieving Radiant Skin
Introduction
With great pleasure, we will explore the intriguing topic related to Mastering the Art of Gel Highlighter: A Comprehensive Guide to Achieving Radiant Skin. Let’s weave interesting information and offer fresh perspectives to the readers.
Table of Content
Mastering the Art of Gel Highlighter: A Comprehensive Guide to Achieving Radiant Skin
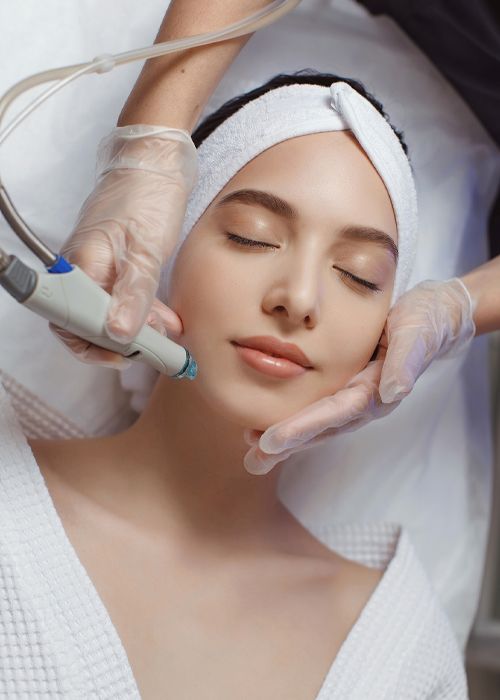
Gel highlighter, with its unique blend of luminosity and versatility, has emerged as a staple in the makeup world, offering a subtle yet impactful way to enhance one’s natural features. Its ability to create a radiant, healthy glow and accentuate the contours of the face makes it a sought-after tool for achieving a polished look.
This guide delves into the intricacies of gel highlighter application, providing a comprehensive understanding of techniques, tools, and considerations for achieving optimal results.
Understanding the Essence of Gel Highlighter
Gel highlighters, unlike their powder or liquid counterparts, possess a unique texture that offers a blend of benefits. Their gel formula allows for seamless blending and a natural-looking finish, while their concentrated pigment delivers a potent dose of radiance.
Benefits of Gel Highlighter
- Natural-Looking Glow: Gel highlighters impart a subtle, dewy glow that mimics the radiance of healthy skin, avoiding the overly-shiny appearance often associated with other highlighter formats.
- Versatile Application: Gel highlighters can be seamlessly blended into the skin, making them suitable for both subtle and dramatic highlighting effects.
- Long-Lasting Finish: Gel highlighters tend to have excellent staying power, ensuring a radiant look that lasts throughout the day.
- Buildable Coverage: The gel formula allows for gradual application, enabling users to build intensity according to their desired level of luminosity.
Essential Tools for Gel Highlighter Application
- Highlighter Brush: A small, fluffy brush designed for applying highlighter is essential for precise application and seamless blending.
- Beauty Blender: A damp beauty blender can be used to blend gel highlighter for a more diffused, natural-looking finish.
- Fingertips: For a more controlled and precise application, especially for smaller areas like the brow bone, fingertips can be used.
Step-by-Step Guide to Gel Highlighter Application
Preparation is Key:
- Cleanse and Moisturize: Begin by thoroughly cleansing the face and applying a moisturizer to create a smooth canvas for the highlighter.
- Primer Application: A primer helps to create a smooth surface for the highlighter to adhere to, ensuring a long-lasting and flawless finish.
Highlighting Techniques:
-
Strategic Placement: Gel highlighter should be applied to the high points of the face, areas where light naturally hits. These areas include:
- Brow Bone: Apply highlighter to the brow bone, extending slightly towards the temple, to create a lifted and youthful effect.
- Cheekbones: Sweep the highlighter across the cheekbones, starting from the apple of the cheek and blending towards the hairline.
- Cupid’s Bow: Apply a small amount of highlighter to the center of the upper lip, creating a subtle pout.
- Inner Corner of the Eye: A touch of highlighter in the inner corner of the eye brightens and opens up the eyes.
- Chin: A small amount of highlighter on the center of the chin can create a more defined look.
-
Application Techniques:
- Brush Application: Dip a small, fluffy brush into the gel highlighter and gently apply it to the desired areas, blending outwards with light, sweeping motions.
- Beauty Blender Application: Dab a small amount of gel highlighter onto a damp beauty blender and gently pat it onto the desired areas, blending outwards for a diffused effect.
- Fingertip Application: For precise application, use your fingertips to gently dab the gel highlighter onto the desired areas.
-
Blending is Crucial: Thorough blending is key to achieving a natural-looking finish. Use circular motions with a brush or beauty blender to seamlessly integrate the highlighter with the surrounding skin.
Customization and Personalization:
- Intensity Control: The amount of gel highlighter used determines the intensity of the glow. Start with a small amount and gradually build up to the desired level of luminosity.
- Color Choice: Gel highlighters are available in a range of shades, from subtle champagne to dramatic gold. Choose a shade that complements your skin tone and desired effect.
Tips for Achieving a Flawless Finish:
- Less is More: When applying gel highlighter, a little goes a long way. Start with a small amount and gradually build up to the desired level of luminosity.
- Blend, Blend, Blend: Thorough blending is crucial for a natural-looking finish. Use circular motions with a brush or beauty blender to seamlessly integrate the highlighter with the surrounding skin.
- Set with Powder: For a longer-lasting finish, set the gel highlighter with a translucent powder.
- Experiment with Placement: Experiment with different placement techniques to find what works best for your face shape and desired effect.
- Consider Your Skin Type: If you have oily skin, consider setting the gel highlighter with a powder to prevent it from sliding around.
- Use a Highlighter Brush: A dedicated highlighter brush will help you achieve precise application and a seamless finish.
FAQs on Gel Highlighter Application
Q: Can I use gel highlighter on top of foundation?
A: Yes, gel highlighter can be applied over foundation. However, it is important to blend it thoroughly to ensure a seamless finish.
Q: What is the best way to blend gel highlighter?
A: A small, fluffy brush or a damp beauty blender are the most effective tools for blending gel highlighter.
Q: How long does gel highlighter last?
A: Gel highlighters generally have good staying power, lasting several hours without fading.
Q: Can I use gel highlighter on my eyelids?
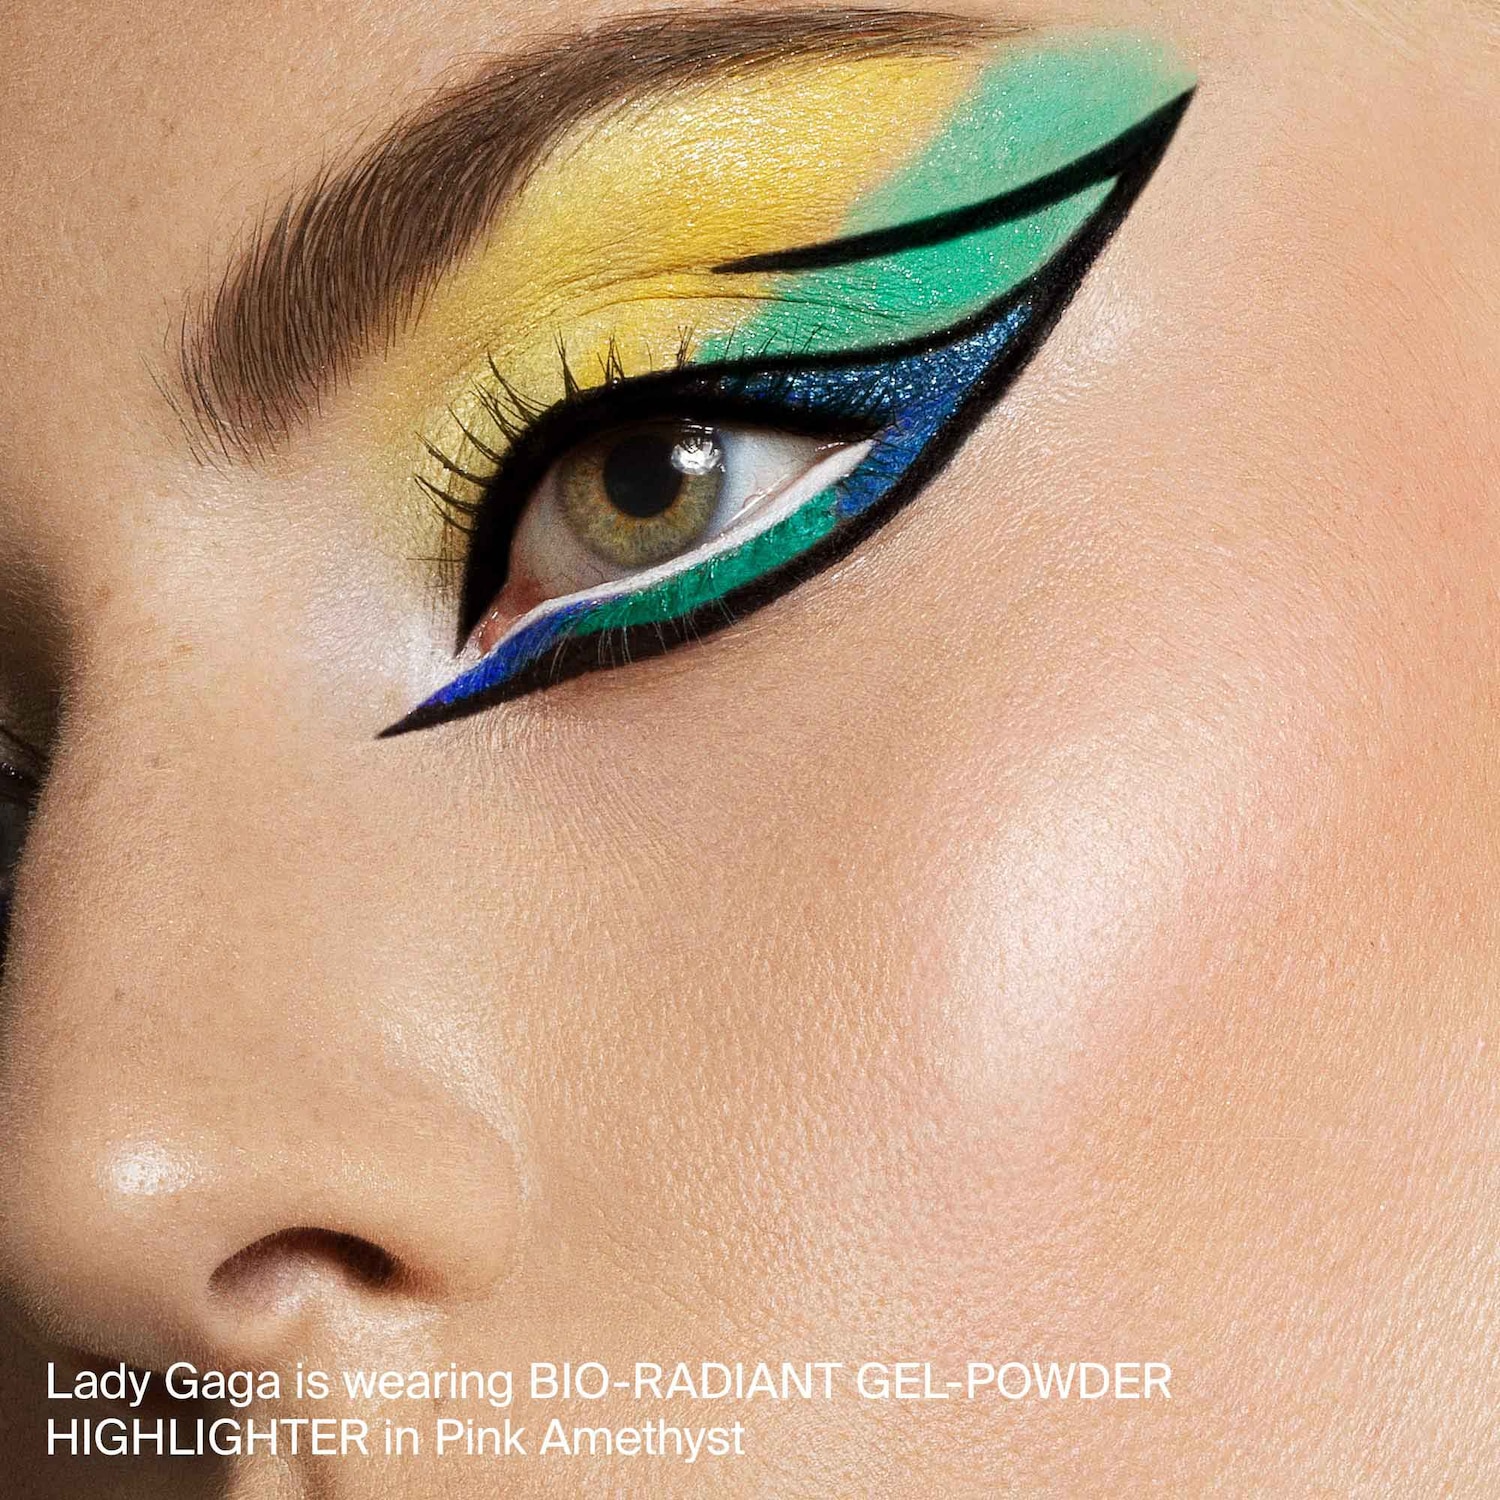
A: Yes, gel highlighter can be used on the eyelids for a subtle shimmery effect. However, it is important to choose a formula that is specifically designed for eye use.
Q: What are the different types of gel highlighters?
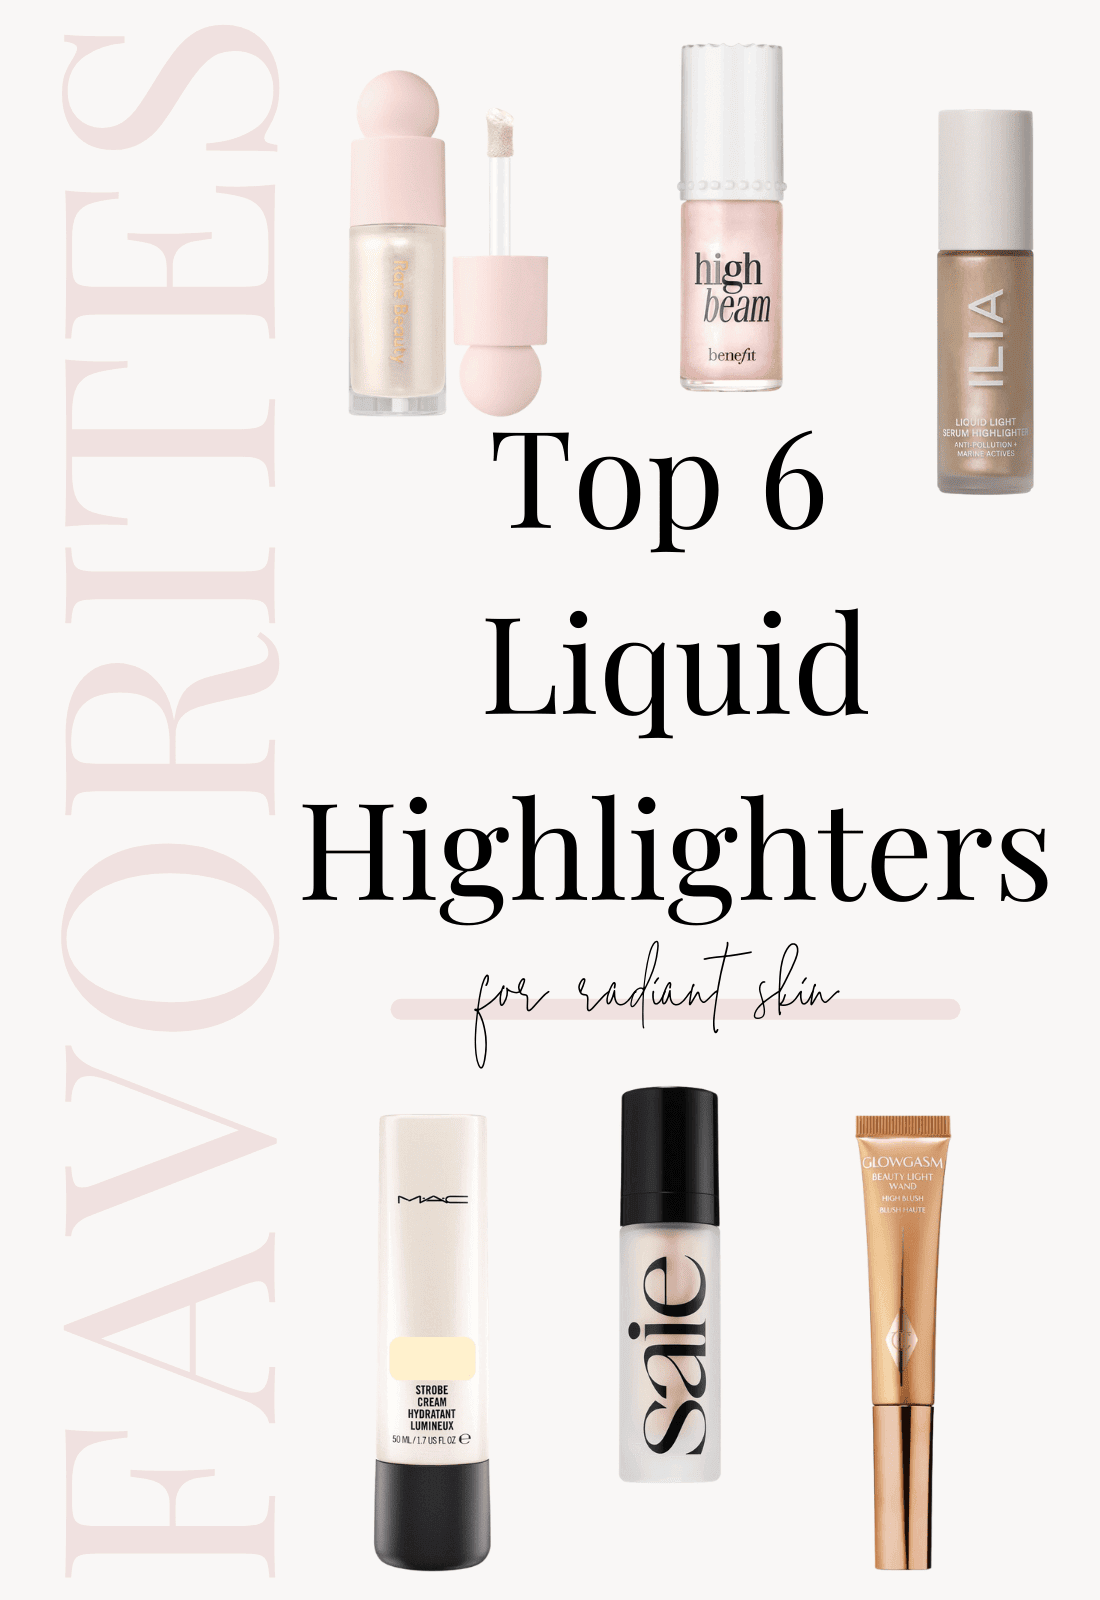
A: Gel highlighters come in various formulations, including cream-gel, liquid-gel, and gel-based sticks. The best type for you will depend on your individual preferences and skin type.
Conclusion
Gel highlighter offers a unique and versatile way to enhance one’s natural features, creating a radiant, healthy glow that complements any makeup look. By following the techniques outlined in this guide, you can master the art of gel highlighter application, achieving a flawless and luminous finish that accentuates your natural beauty. Remember, practice makes perfect, and experimentation is key to discovering what works best for your individual needs and preferences. With a little patience and the right tools, you can unlock the full potential of gel highlighter and elevate your makeup routine to new heights.


Closure
Thus, we hope this article has provided valuable insights into Mastering the Art of Gel Highlighter: A Comprehensive Guide to Achieving Radiant Skin. We hope you find this article informative and beneficial. See you in our next article!